Kitchen Ceiling Light Installation: How to Match Your Lighting to the Kitchen Layout
Installing a kitchen ceiling light isn’t just about mounting a fixture — it’s about adapting your lighting to the layout of your kitchen. Proper placement and sizing ensure even light distribution and a comfortable workspace. Here’s how to get it right.
1. Placement: keep it central and clear of obstacles
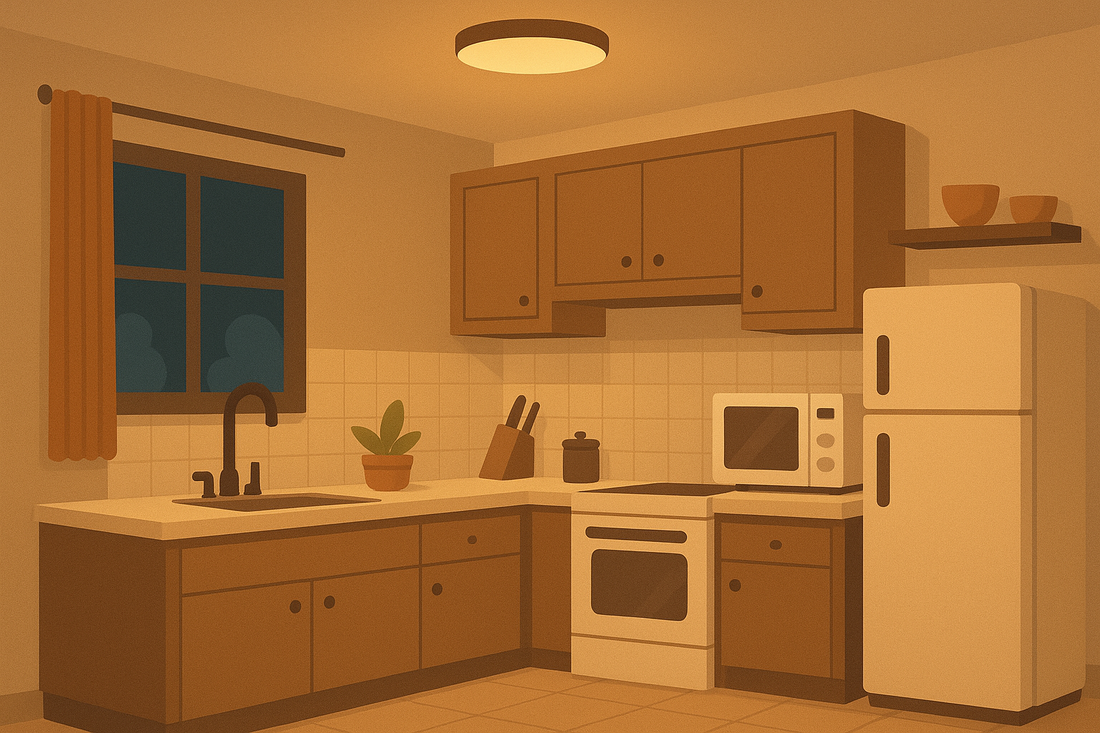
The best position for a ceiling light is in the center of the kitchen ceiling. If wall cabinets cover part of the ceiling, shift the light slightly toward the work area to make sure the countertop is well illuminated.
Avoid installing the light directly above the stove or range hood. The heat and vibration can damage the fixture and shorten its lifespan.
2. Size: match it to your kitchen’s dimensions
Smaller than 8 m²: Choose a light with a diameter of 30–40 cm to prevent the space from feeling crowded.
8–12 m²: Go for a 40–50 cm model to ensure even coverage across the kitchen.
Larger than 12 m²: If one fixture isn’t enough, install two smaller ceiling lights (for example, one above the work area and one in the storage area), or select a rectangular ceiling light that better fits the shape of larger kitchens.
3. Wiring: plan the right connections
A standard ceiling light usually needs only a live wire and a neutral wire. For smart lights with motion sensors or remote control, check whether both live and neutral wires are required — some models need both for proper operation.
Confirm the wiring setup before installation to avoid having to modify your electrical system later.
💡 Expert Tip
For modern kitchens, consider a LED ceiling light with neutral white light (around 4000K). It provides bright yet comfortable illumination, ideal for cooking and everyday use.
